
Build
Baseline expressions
Once the baseline identity is locked, expressions are what bring it to life. This section lives directly below the Baseline identity panel in the Looks editor — scroll down, or click Proceed to expressions at the bottom of the identity section.
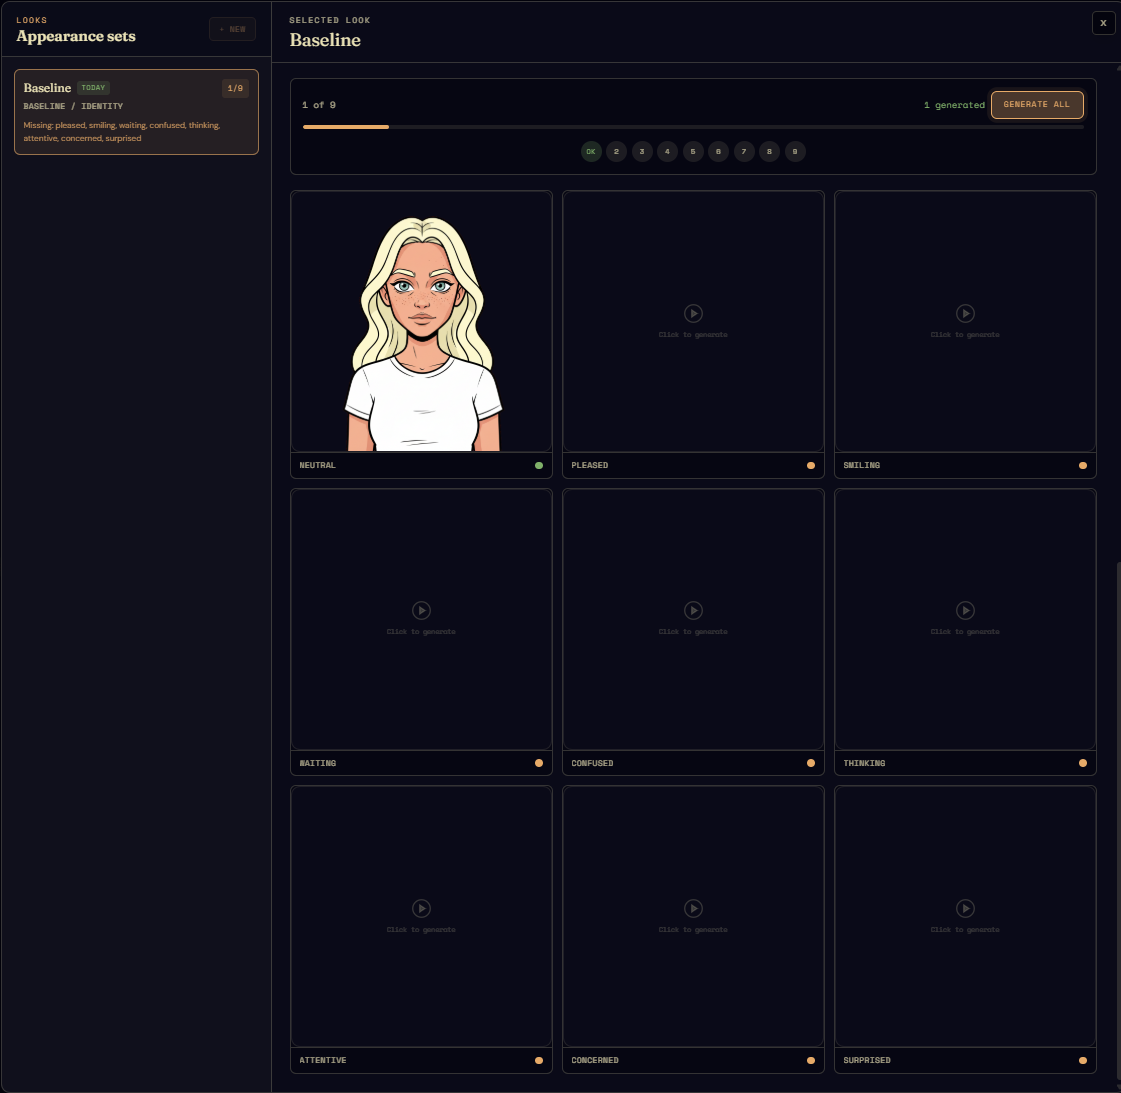
You'll see a nine-tile grid. Eight are empty; the ninth — neutral — is already filled, because it's the same frame you committed in the Baseline identity section above. (Neutral can't be regenerated from this surface either; it IS the baseline identity, and the upper panel owns it. Every other expression is generated against it as the consistency reference.)
Every tile, filled or empty, supports the same magnifying-glass-on-hover that the identity frame does — scroll the mouse wheel to zoom in on the eyes, the lip line, the jaw edge.
Generate all (or one by one)
An empty tile shows "Click to generate" in the middle — you can fill them in one at a time if you want to inspect each before moving on. Or do what I usually do: click Generate all at the top of the section and let the studio walk the list serially.
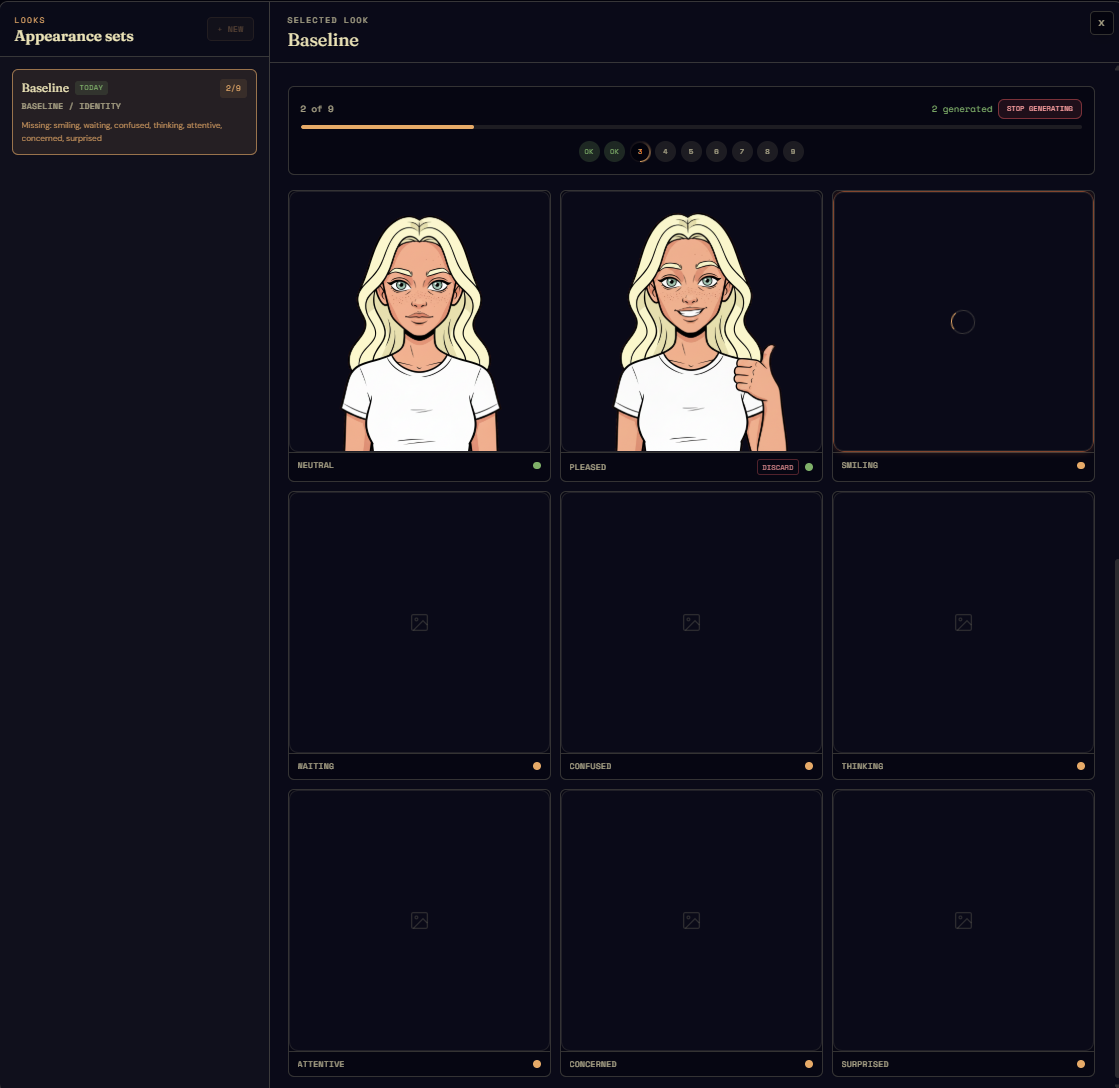
The border of the tile currently being generated lights up so you can see where in the queue the model is. Two things to know about how Generate all behaves:
- It works serially against the neutral as a reference — that's what keeps the hair, the framing, the wardrobe coherent across nine separate model calls.
- It can re-roll a frame that already has content. The consistency QA built into 1.1 evaluates each generated frame against the neutral reference, and if a frame is an outlier (wrong hair texture, the chin slipped two pixels, the wardrobe drifted) it regenerates that frame automatically with a higher-tier model. So the time to "all nine done" includes a few auto-retries on whatever the model got noticeably wrong on the first pass.
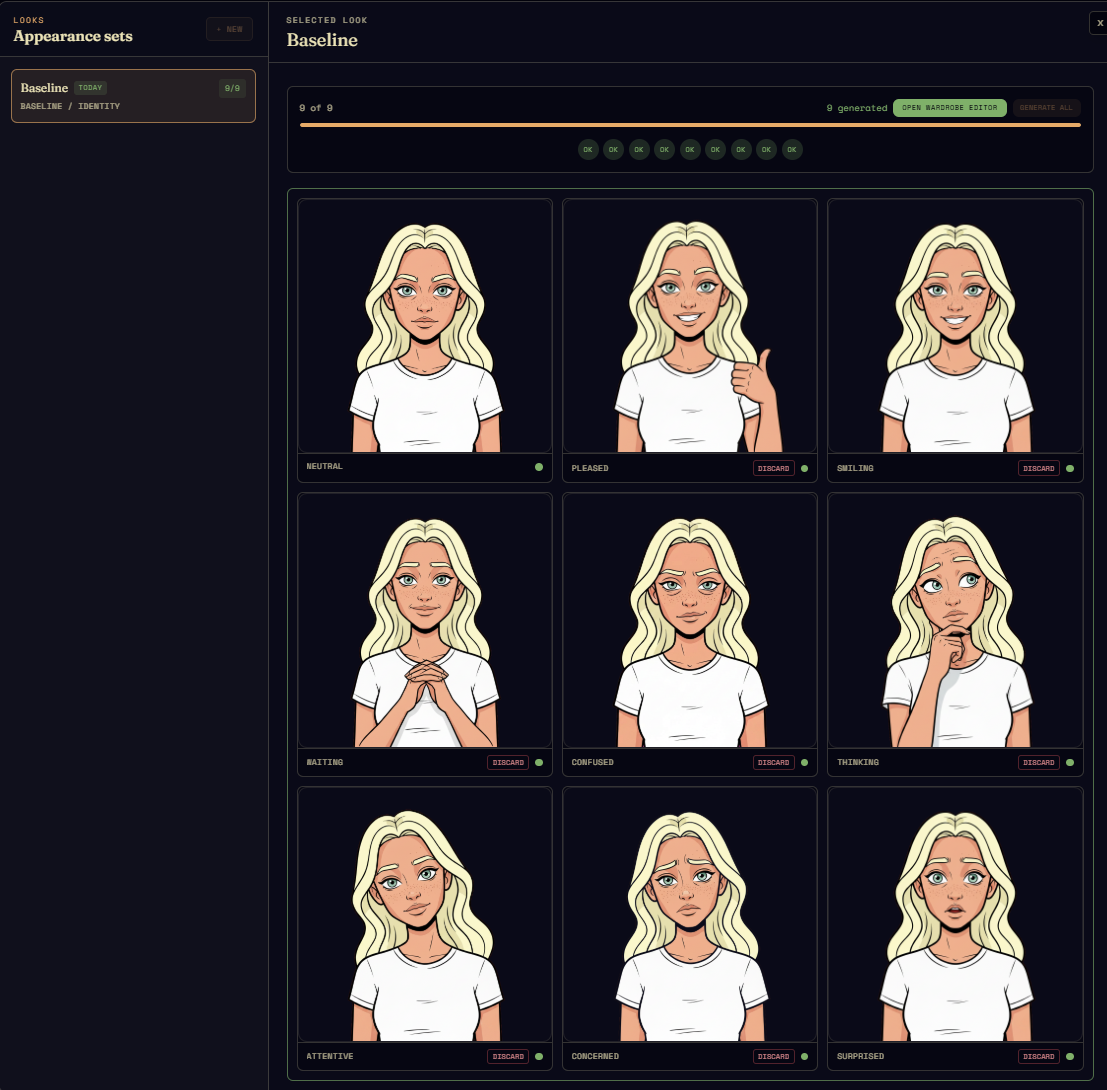
When it's finished, every tile has content:
Where the expressions go — a quick tour of the state machine
Before tweaking anything, it's worth seeing what these nine frames are FOR. Click the X in the top-right of the Looks editor to close it. The studio's home view is a state-machine schematic, and every state node now shows an expression thumbnail pulled from the appearance set you just generated.
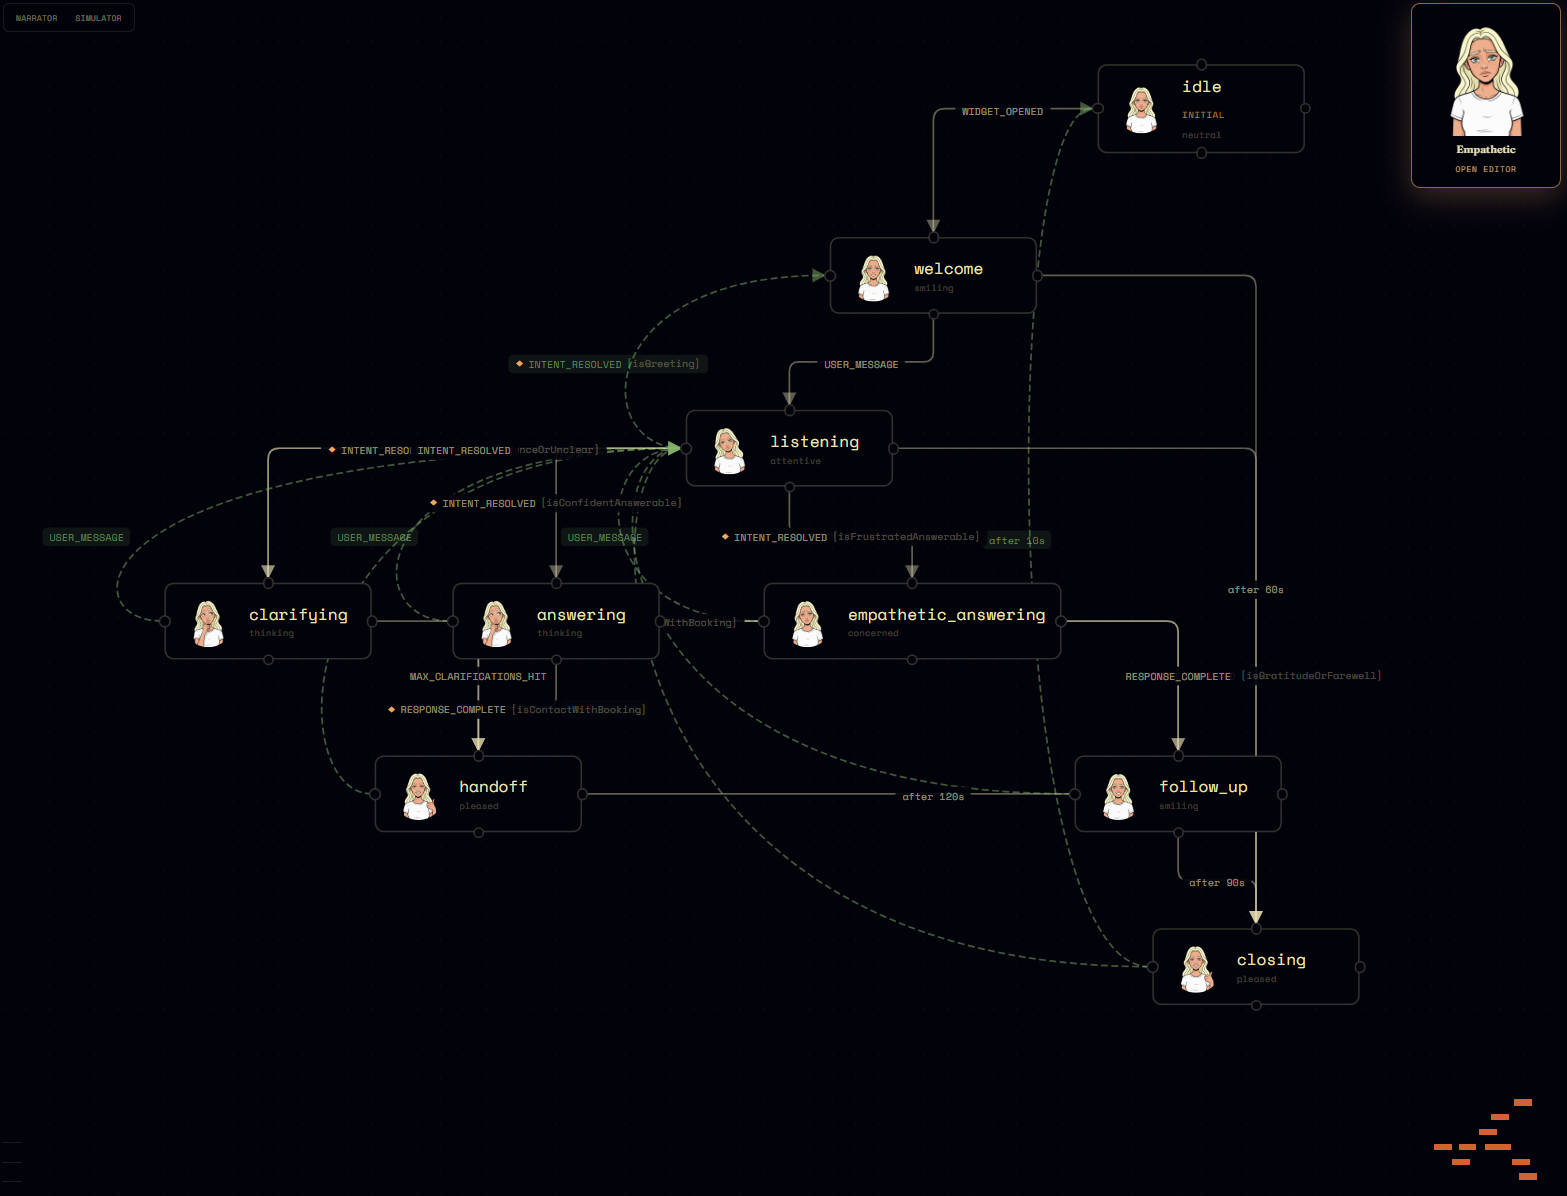
This is what determines which expression the avatar is wearing at any moment of a conversation. Transitions are driven by sentiment detection on the LLM's output and handled by the runtime library on the host site — we cover both in their own chapters. For now, two takeaways: every expression you just generated has a role to play (the runtime doesn't ship a frame it doesn't use), and you can click any node in the schematic to inspect what triggers it.
To get back to expressions: top bar Editor → Looks, make sure Baseline is selected in the left column, and scroll to the bottom — or click Proceed to expressions in the identity section as before.
Animations
The second feature in this section is what turns a static face into one that breathes. Every filled tile (except neutral) reveals a context menu when clicked; the menu has two tabs, Animation and Regenerate.
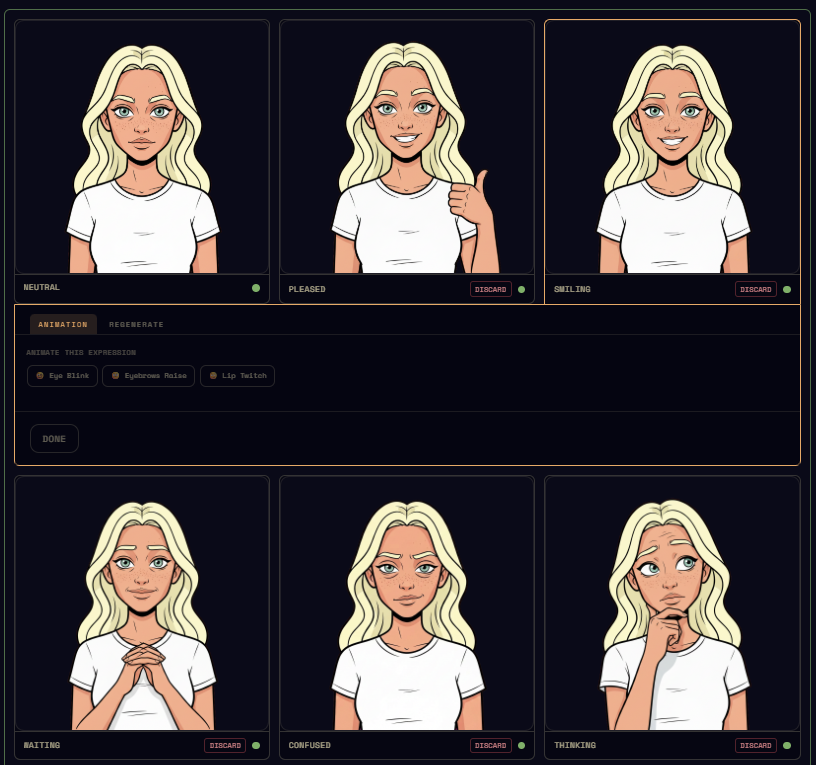
Start with Animation. Three effects are available: Eye Blink, Eyebrows Raise, Lip Twitch. Pick any, all, or none. The moment you pick at least one, an Include mid-frame checkbox appears, checked by default.
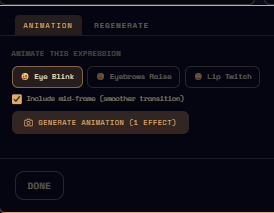
The mid-frame is a halfway-blended image between the base and the full effect; without it the loop plays Base → Full → Base (a two-frame flicker), with it the loop plays Base → Mid → Full → Mid → Base (a smoother motion). Generating it costs one extra frame, which is usually worth it.
Click Generate animation to produce the frames. When it finishes:
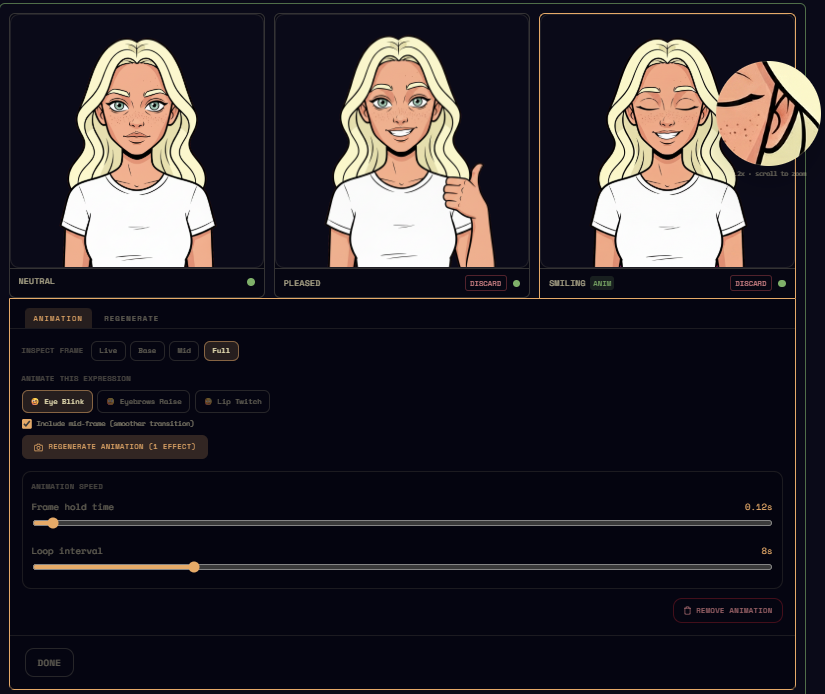
You can step through the produced frames (Base, Mid, Full) one at a time. Two sliders below control playback:
- Frame hold time — how long each frame stays on screen during a single loop pass. Default 0.12 s. The full sequence is Base → Mid → Full → Mid → Base.
- Loop interval — the cooldown between loops. The avatar holds Base for this long before kicking the next animation cycle.
Click the Live tile in the frame inspector to preview the looping animation. If it lands, leave it. If not: Regenerate animation runs the whole flow again (useful when, say, you want to see Eye Blink and Eyebrows Raise combined into one combined animation instead of separate). Remove animation drops the generated frames and reverts to the static base.
Regenerate
The second tab, Regenerate, replaces the static base frame for that expression.
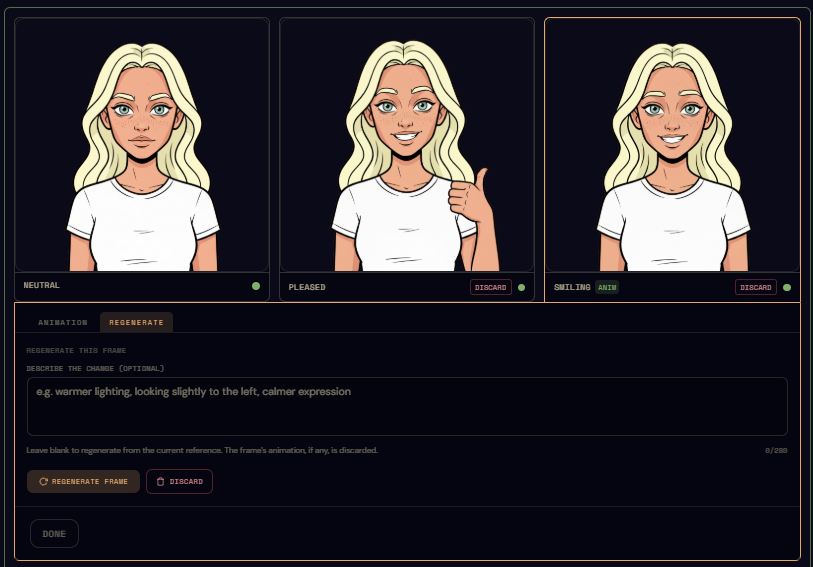
The Describe the change field is freeform — "warmer eyes", "less teeth", "looking slightly to the left" — and gets appended to the prompt as guidance for the next generation. Leave it blank to re-roll the prompt as-is.
If the expression already has an animation, regenerating the base frame discards every animation frame too (the mid and full frames were derived from the previous base, so they'd no longer match). You get a one-step confirmation before that happens:
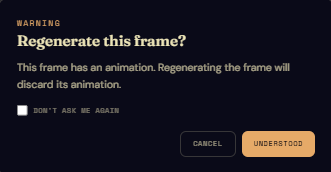
The same dialog appears for Discard, which throws the frame away entirely and leaves the tile empty again.
Neutral is exempt from this tab — it's owned by the Baseline identity editor above. The Regenerate tab is hidden on the neutral tile, with a "Baseline identity-owned · edit in Baseline identity" hint in its place.
What deployment needs
An avatar can only be deployed when every expression in its baseline set has a frame. Animations are optional — encouraged, because they're what makes the difference between a chatbot with a profile picture and one that feels present — but the absence of an animation never blocks a deploy.