
Build
Baseline identity
When the wizard finishes, the studio opens with the Baseline identity editor already on screen. That's deliberate — it's the next thing you need to do, and the only thing that unlocks every editor underneath it. Identity comes first because every expression, every wardrobe, every animation frame is generated against the face you commit here.
How you got here (in case the auto-handoff confused you)
The wizard didn't just "continue". It actually performed three handoff steps in a single beat:
-
The wizard saved the avatar configuration and closed itself.
-
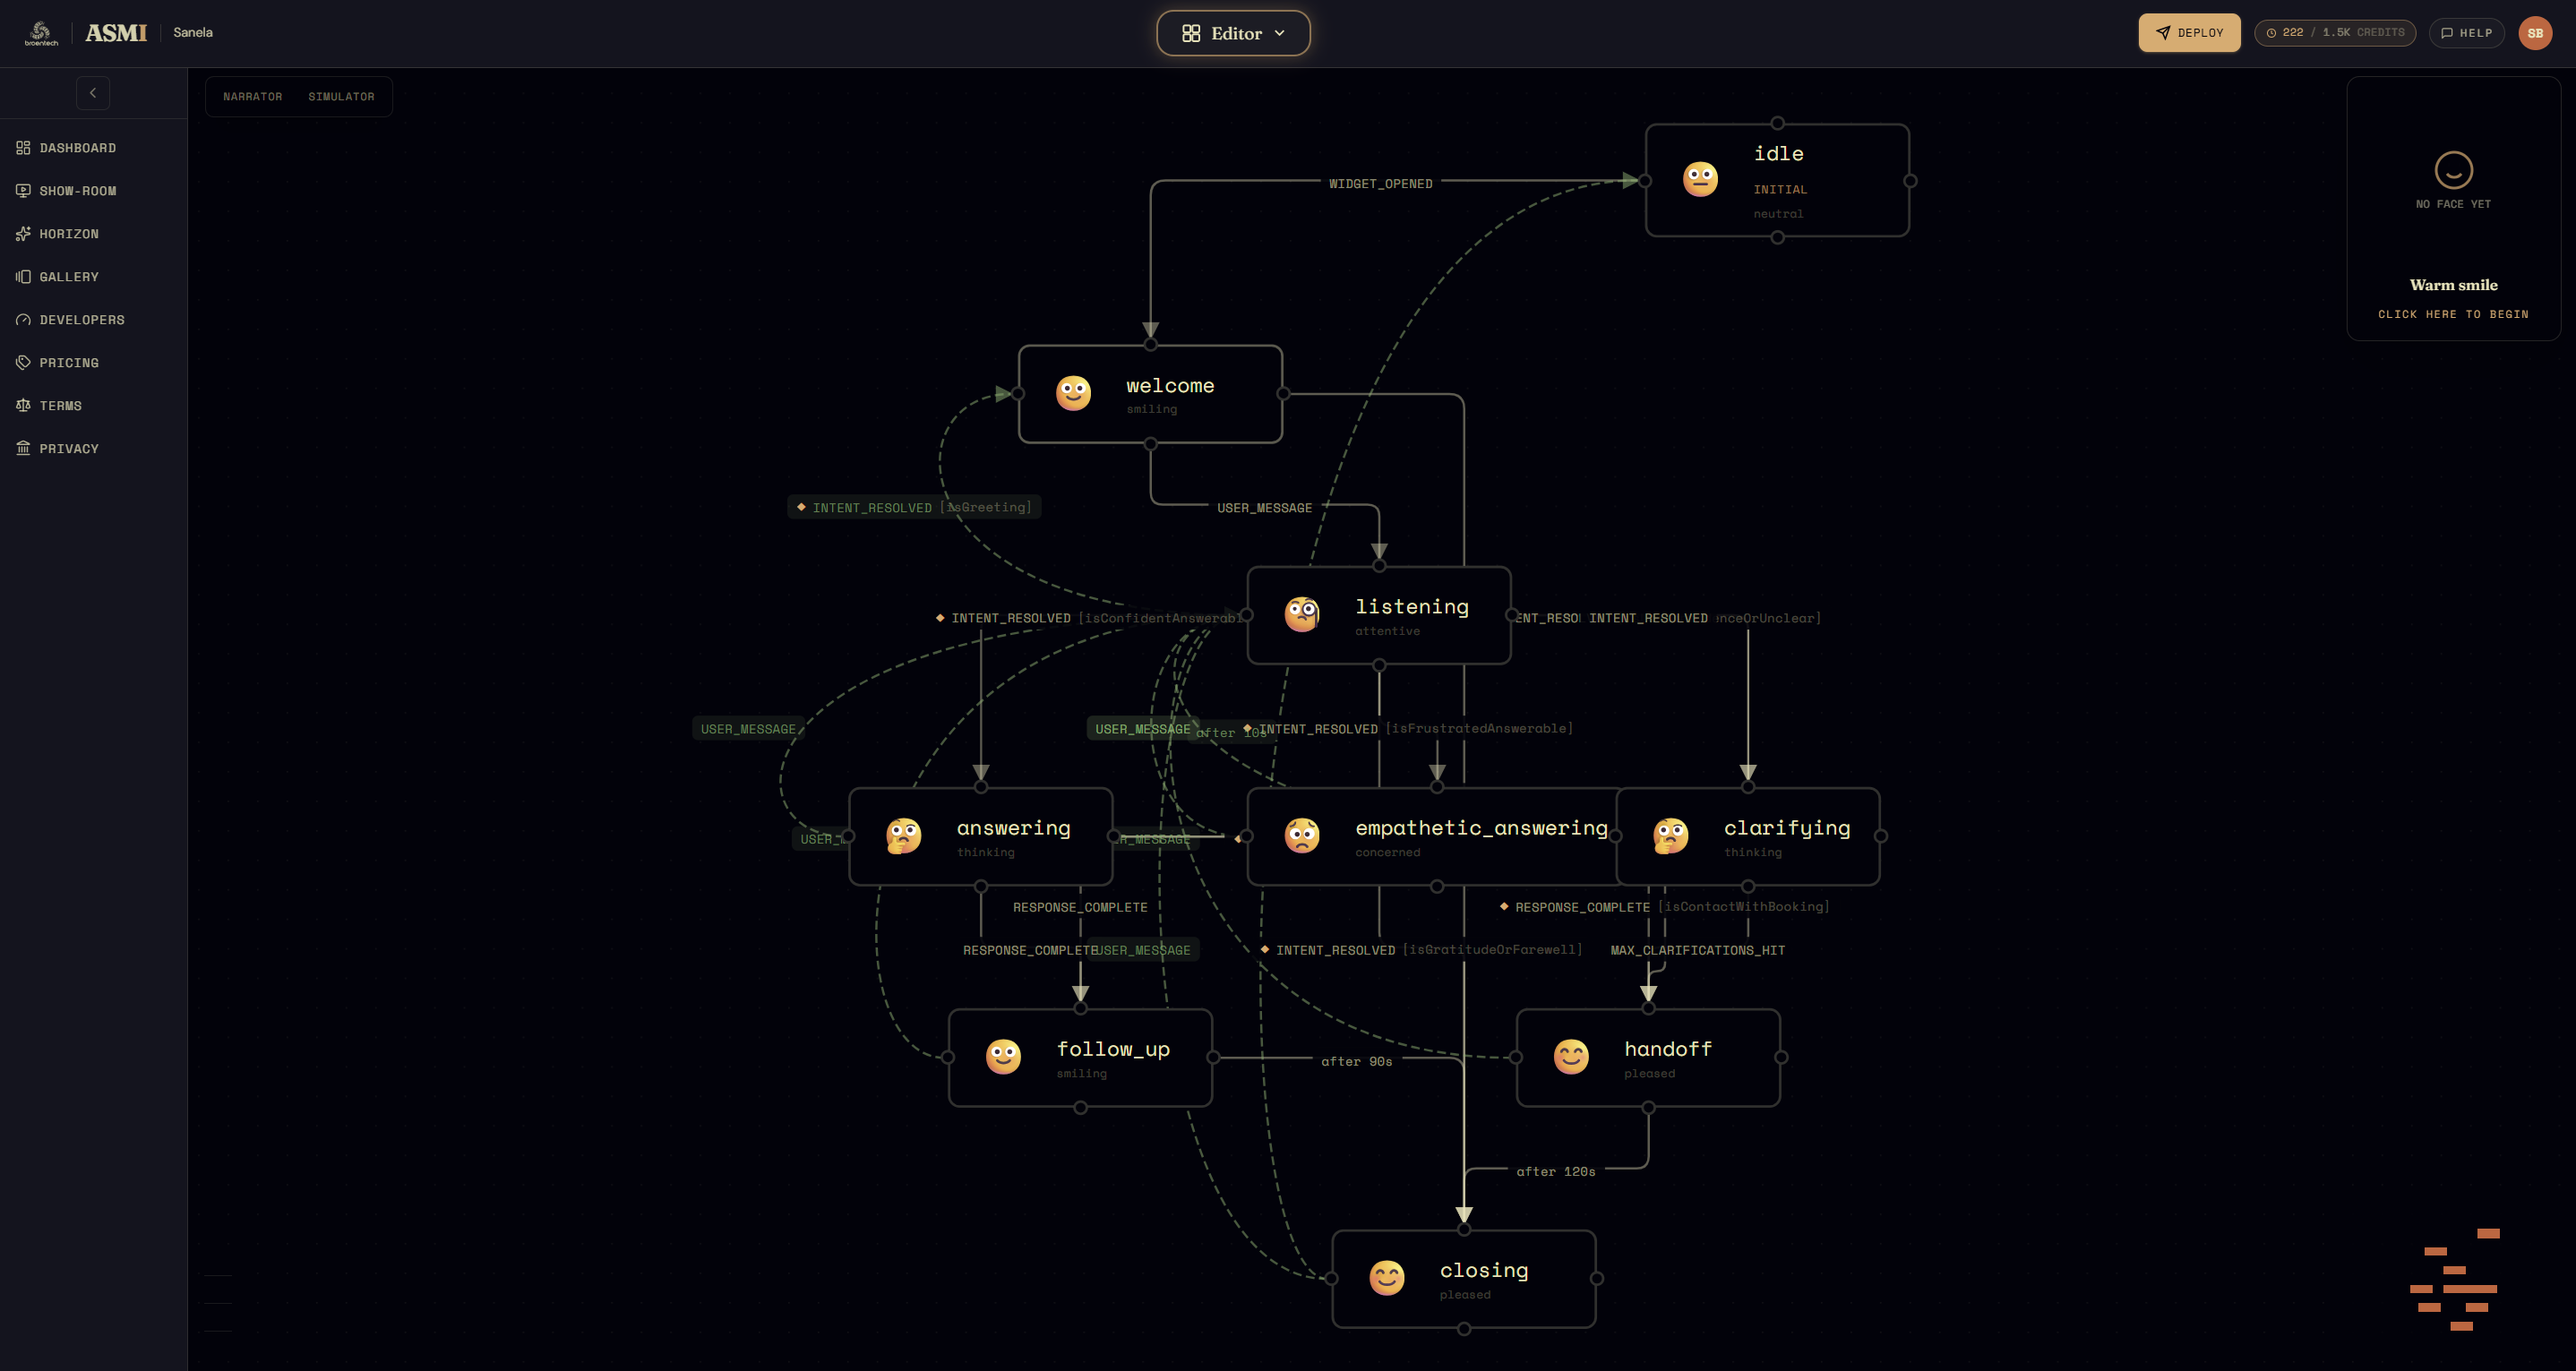
The studio opens. At the top, the middle dropdown labelled Editor is what gives you access to the various editing surfaces.
-
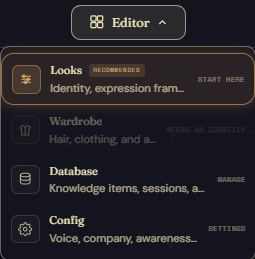
From that dropdown, Looks opens — and Looks defaults to the Baseline identity editor for any avatar that hasn't captured a baseline yet.
So whenever you need to come back to this editor later, that's the path: top bar → Editor → Looks.
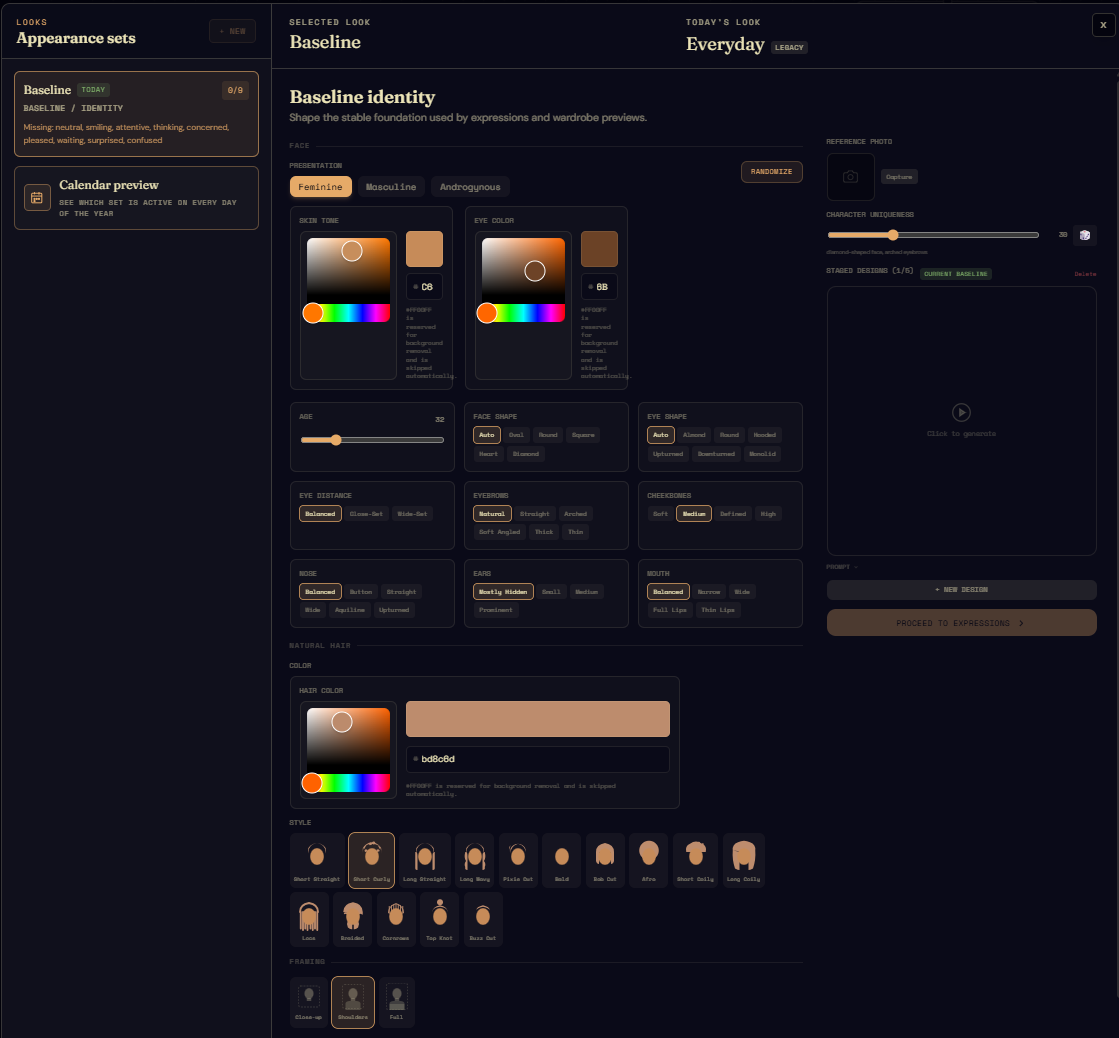
The sets sidebar on the right
The right column lists every appearance set this avatar has. Right now it has exactly one entry — Baseline — because that's the only thing the avatar has. Later, when you create alternate looks (the dental-clinic doctor with their Tooth Fairy Friday scrubs, the museum guide in their planetarium jacket, and so on), they appear here as additional rows underneath Baseline.
Baseline is special because it's not a "look" the visitor ever sees; it's the unstyled identity reference that every styled look in the list above is generated from. Get it right once and everything downstream inherits the correct face.
The character configuration
The main panel is the character creator: gender, hair style and colour, eye shape and colour, skin tone, framing. The fields are self-describing — pick what you want, the avatar updates against the current prompt the next time you generate a frame.
The Randomize button at the top of the panel is exactly what it sounds like: every field gets a fresh roll. Useful when you want a starting point that isn't a copy of someone you already know.
To the right of the character fields, three controls do more than they appear to:
Reference photo
Drop in a photo — your own face, a friend's (ask first), a public photo of someone whose look you're trying to approximate — and the configurator infers a character configuration from it. It doesn't copy the photo into the avatar; it reads the photo and proposes hair style, skin tone, eye shape, and so on. You can then nudge any field by hand. Use it when you have a clear visual reference and the per-field pickers feel slow.
Character uniqueness
A slider plus a dice button. The slider sets how far the next roll can wander from the current configuration (0 % = no change, 100 % = wildly different). The dice applies that uniqueness to the current configuration — small nudge or a big swing, your choice. Useful for getting an avatar to stand out from the gallery's house style without manually picking every distinctive feature yourself.
Generation frame
The large square below the uniqueness slider is where the configuration becomes an actual image. Click anywhere in the frame to start generation; the border lights up while the model is running. When the frame populates, you have a draft of the baseline face.
Hover over the rendered frame and a magnifying-glass effect tracks your cursor — scroll the mouse wheel to zoom in and out. Useful for checking the eyes, the jawline, the hairline edge, the texture of the clothing — the things that, if wrong, will be wrong across every expression you generate downstream.
Prompt, carousel, and committing a design
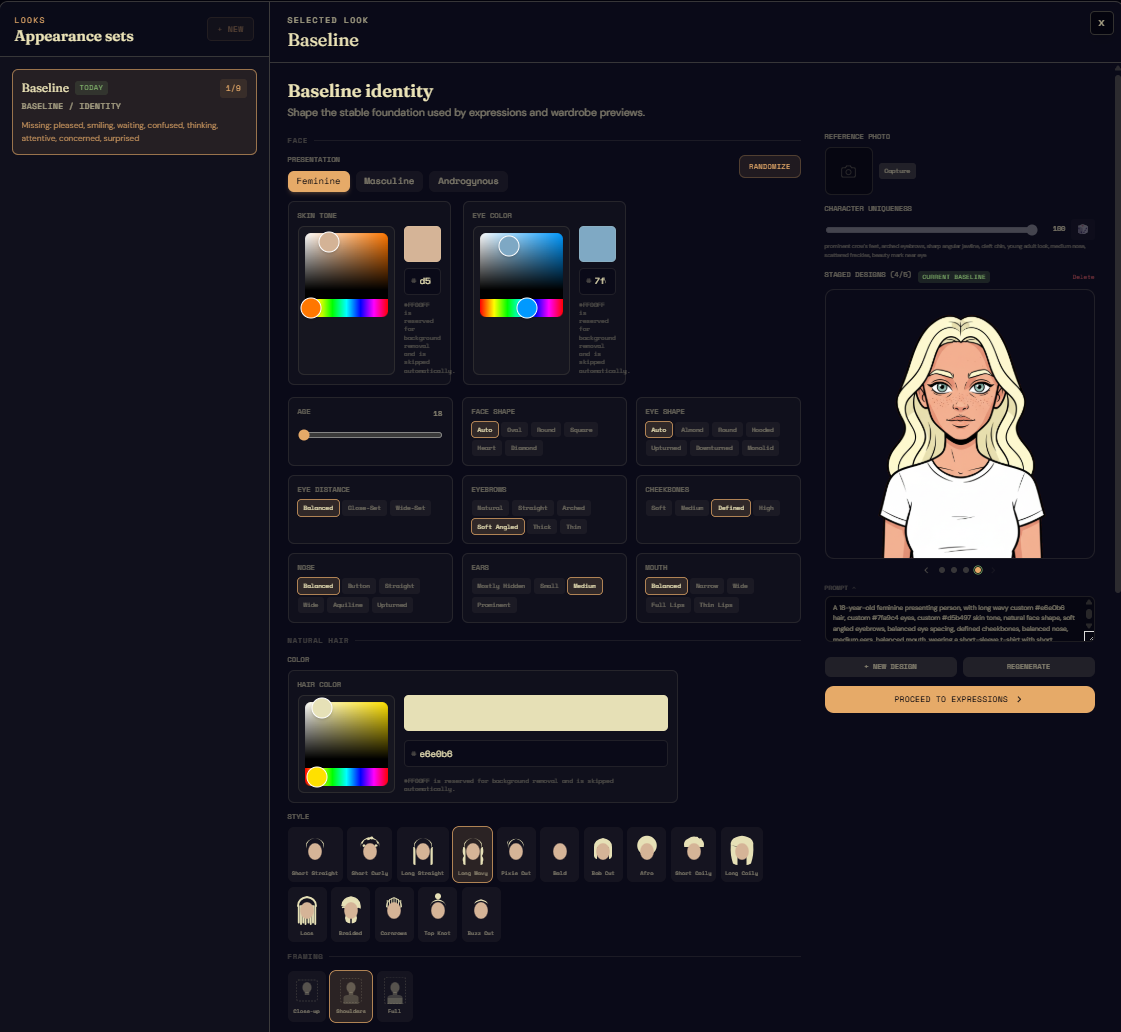
Below the frame, an expandable Prompt section reveals the exact text that went to the model for the current draft. Edit it freely if you want to override what the field-picker produced — direct prompt access matters for tuning the unusual cases the configurator can't quite express.
The two buttons below the prompt:
- New design — generates a fresh draft using the current prompt and adds it to the frame as a separate option. Up to five drafts can live in the frame at once; once you've made a second one, a small carousel appears below the frame so you can flick between them and compare.
- Regenerate — replaces the currently-selected draft with a fresh attempt at the same prompt. Use this when one draft is close to what you want but missed on a specific detail.
When you've settled on the design, that's the avatar's locked baseline. From there, scroll down into the Baseline expressions section directly below — the next chapter walks through generating the six-to-nine expression frames and QA-gating them against the identity you just committed.