
Build
Wardrobe
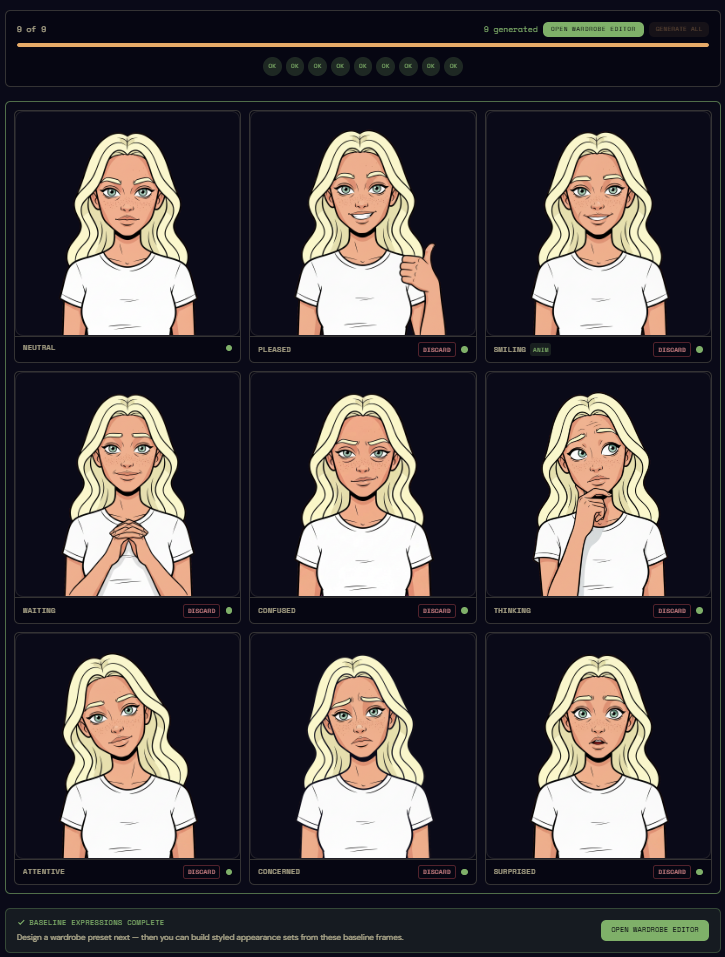
With the baseline identity and its nine expression frames in place, the next step is to dress the avatar. A wardrobe is a reusable styling preset — hair, clothing, accessories — that any appearance set can consume to produce a styled look. One wardrobe per outfit; you can have as many as you need.
Getting in
There are two paths into the editor. Once the baseline expression grid is complete, a shortcut appears in the Looks editor directly above and below the expressions section — the studio is nudging you toward the natural next step.
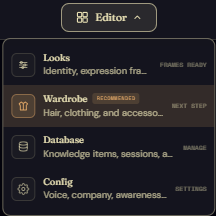
The same surface is always reachable from the top bar's Editor dropdown.
The layout
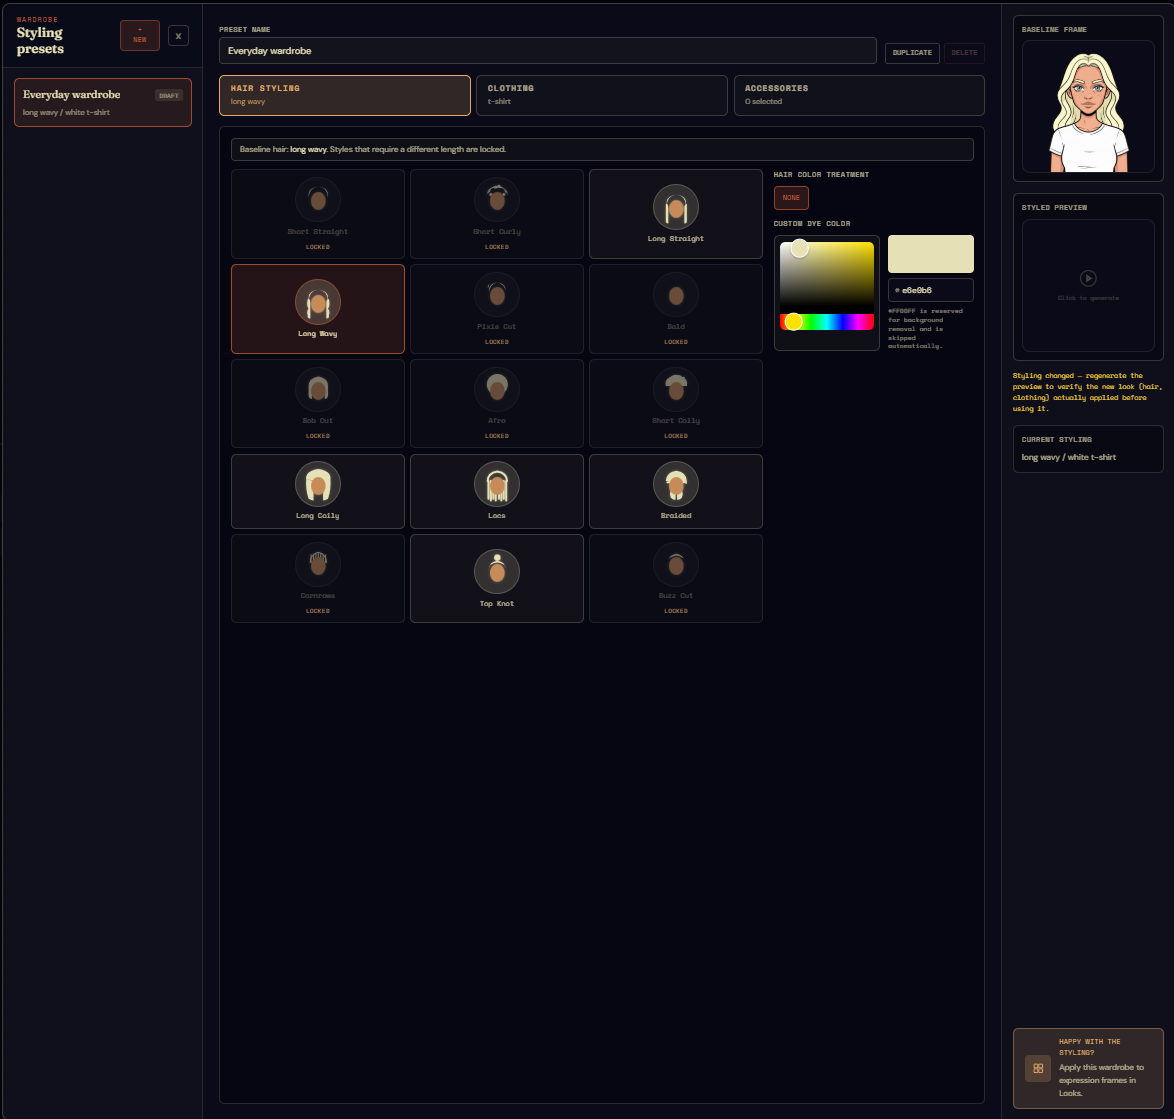
The wardrobe editor mirrors the shape of the expressions editor on purpose: a list of items on the left, a configuration surface in the middle, and a generative preview on the right. Once you know one, you know the other.
Left column. Every wardrobe you've created. A starter wardrobe called Everyday wardrobe is there by default, so the first appearance set has something to lean on. The + New button at the top adds a fresh wardrobe with default-ish values you can override.
Top of the centre panel. The wardrobe's name (rename it freely), plus Duplicate and Delete buttons that do exactly what they say. Duplicating is the fastest way to make a "Tooth Fairy Friday" out of an existing "Clinic Coat" — copy, then change only what differs.
Hair, clothing, accessories
The configuration surface in the middle has three tabs.
Hair styling. Hair style is constrained by the baseline identity — you can't pick a long coily style when the baseline has a buzz cut, the same way someone with a buzz cut can't have long coily hair tomorrow morning. The configurator only offers compatible styles. Hair colour, on the other hand, is yours to pick — dyeing hair is something people do, and the wardrobe respects that.
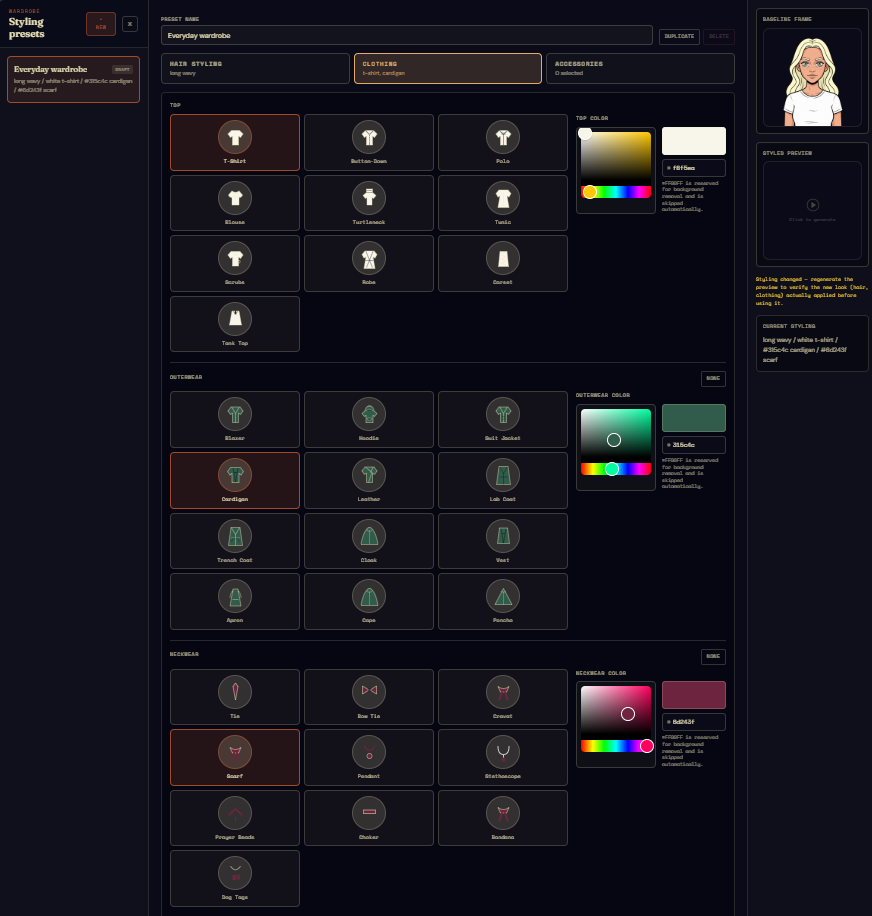
Clothing. Three sub-sections: top, outerwear, neckwear. Each has its own list of types and an independent colour picker.
Accessories. Two sub-sections, but the second is a variant of the first. Pick "headphones" in the top section and the bottom section asks which variant of headphones — over-ear, on-ear, cat-ear, and so on. When the variant is set, the Add button in the bottom-right adds that accessory to the wardrobe.
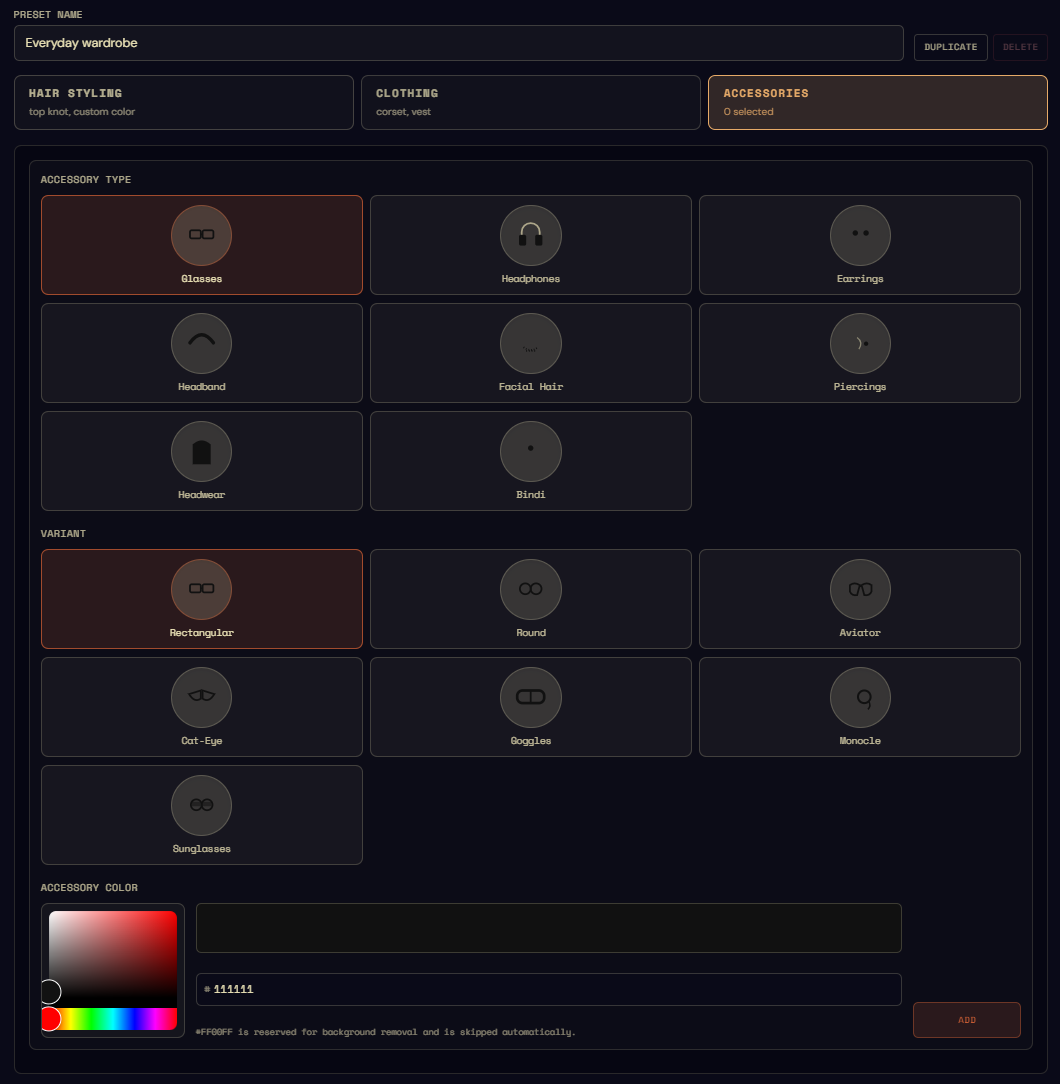
Added accessories appear as pills above the configuration field. Click a pill to remove that accessory. There's no hard limit on how many you stack — pick what makes the character read.
The preview
The generative panel on the right is where the configuration becomes a styled-neutral frame — the same face as the baseline, in the same neutral pose, wearing this wardrobe. Click the frame to generate.
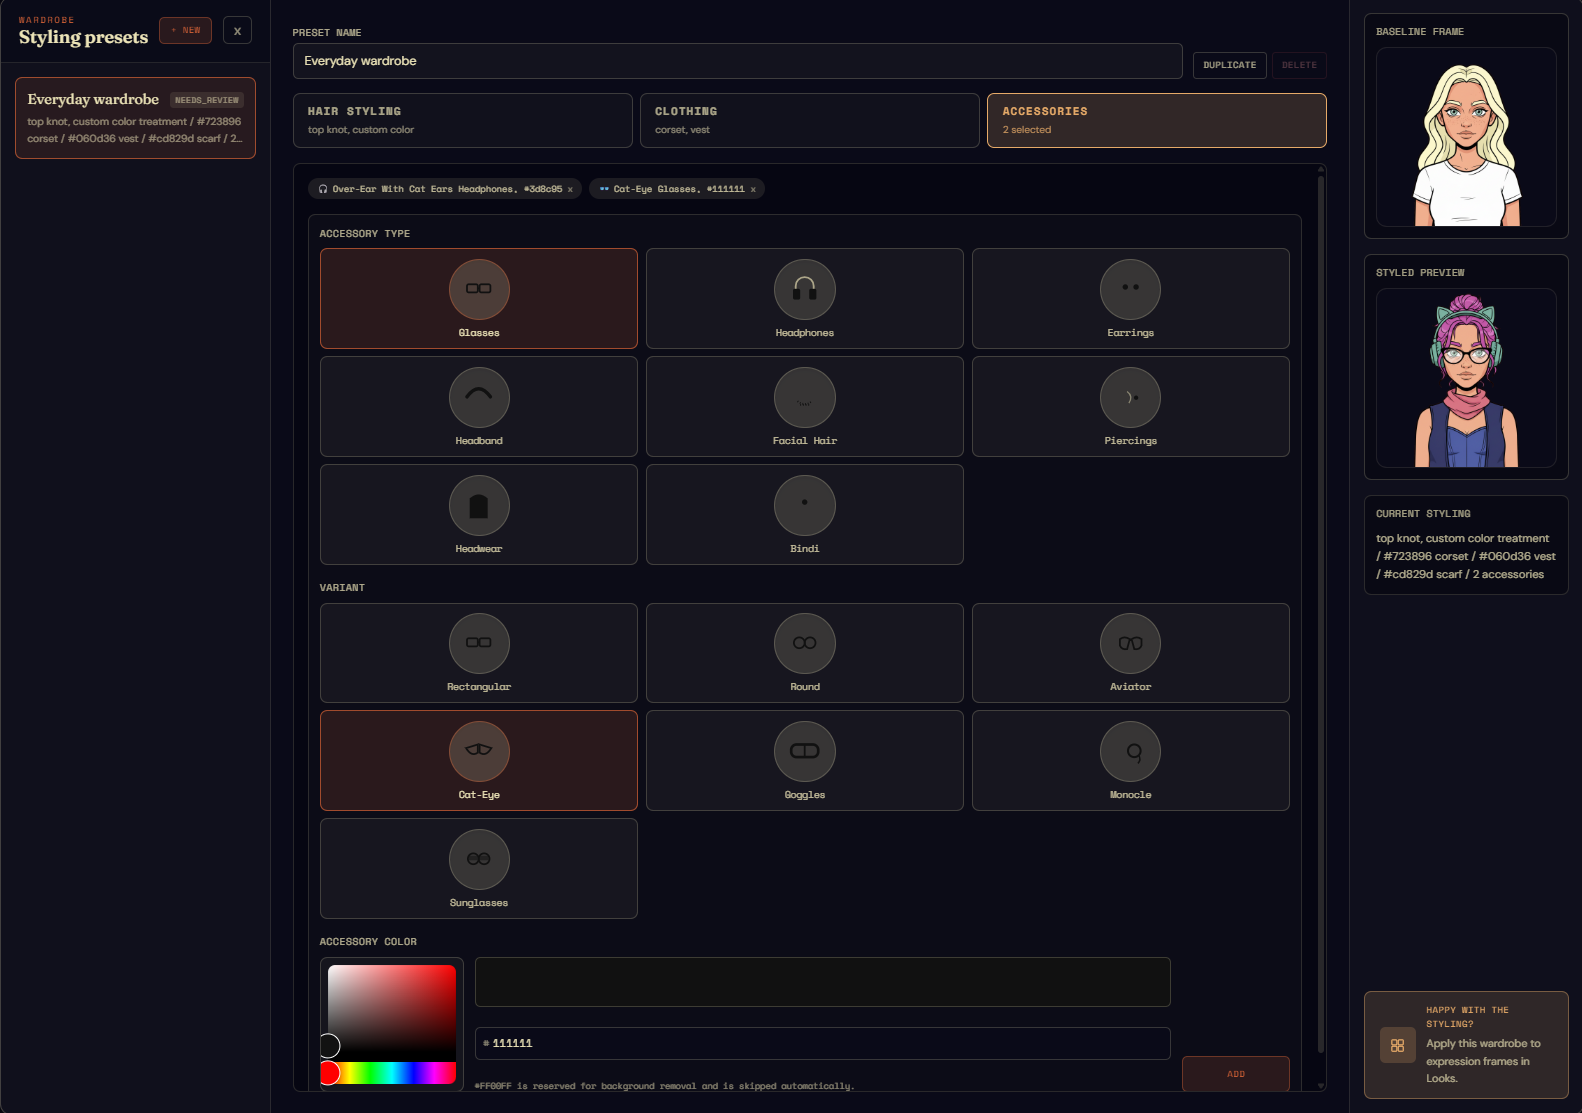
This preview matters more than it looks like: it's the canonical styled neutral, the consistency reference every styled expression in any appearance set built from this wardrobe will be generated against. Generate it here, get it right, and the downstream expression generation has a known anchor to work from. The mid-session reference-materialisation flow in the Looks editor depends on this preview being present and approved — refusing to start when it's missing rather than silently generating one.
What comes next
A wardrobe on its own doesn't go anywhere — it's a building block. The next chapter covers Looks: how wardrobes get composed into appearance sets, how Default / Dynamic / Forced selection picks which look the visitor sees today, and how the calendar preview shows you which day of the year is wearing what.