
Ship
Implementing with Lovable
The avatar is built and tested. Shipping it is a different kind of step from everything before it: you don't export a widget or copy a script tag — you deploy the avatar to ASMI's MCP server, then point a coding agent at it. The agent fetches the blueprint and writes the integration straight into your site, running on your stack with your LLM. ASMI stays a design-time tool; nothing of mine sits in your runtime.
Any MCP-capable coding agent can do this — Claude Code, Cursor, v0, base44. My own favourite is Lovable, so that's the one this chapter walks end to end. (base44 and v0 get their own chapters; the deploy half below is identical for all of them.)
Step 1 — Deploy
Find the Deploy button in the top-right corner of the studio.
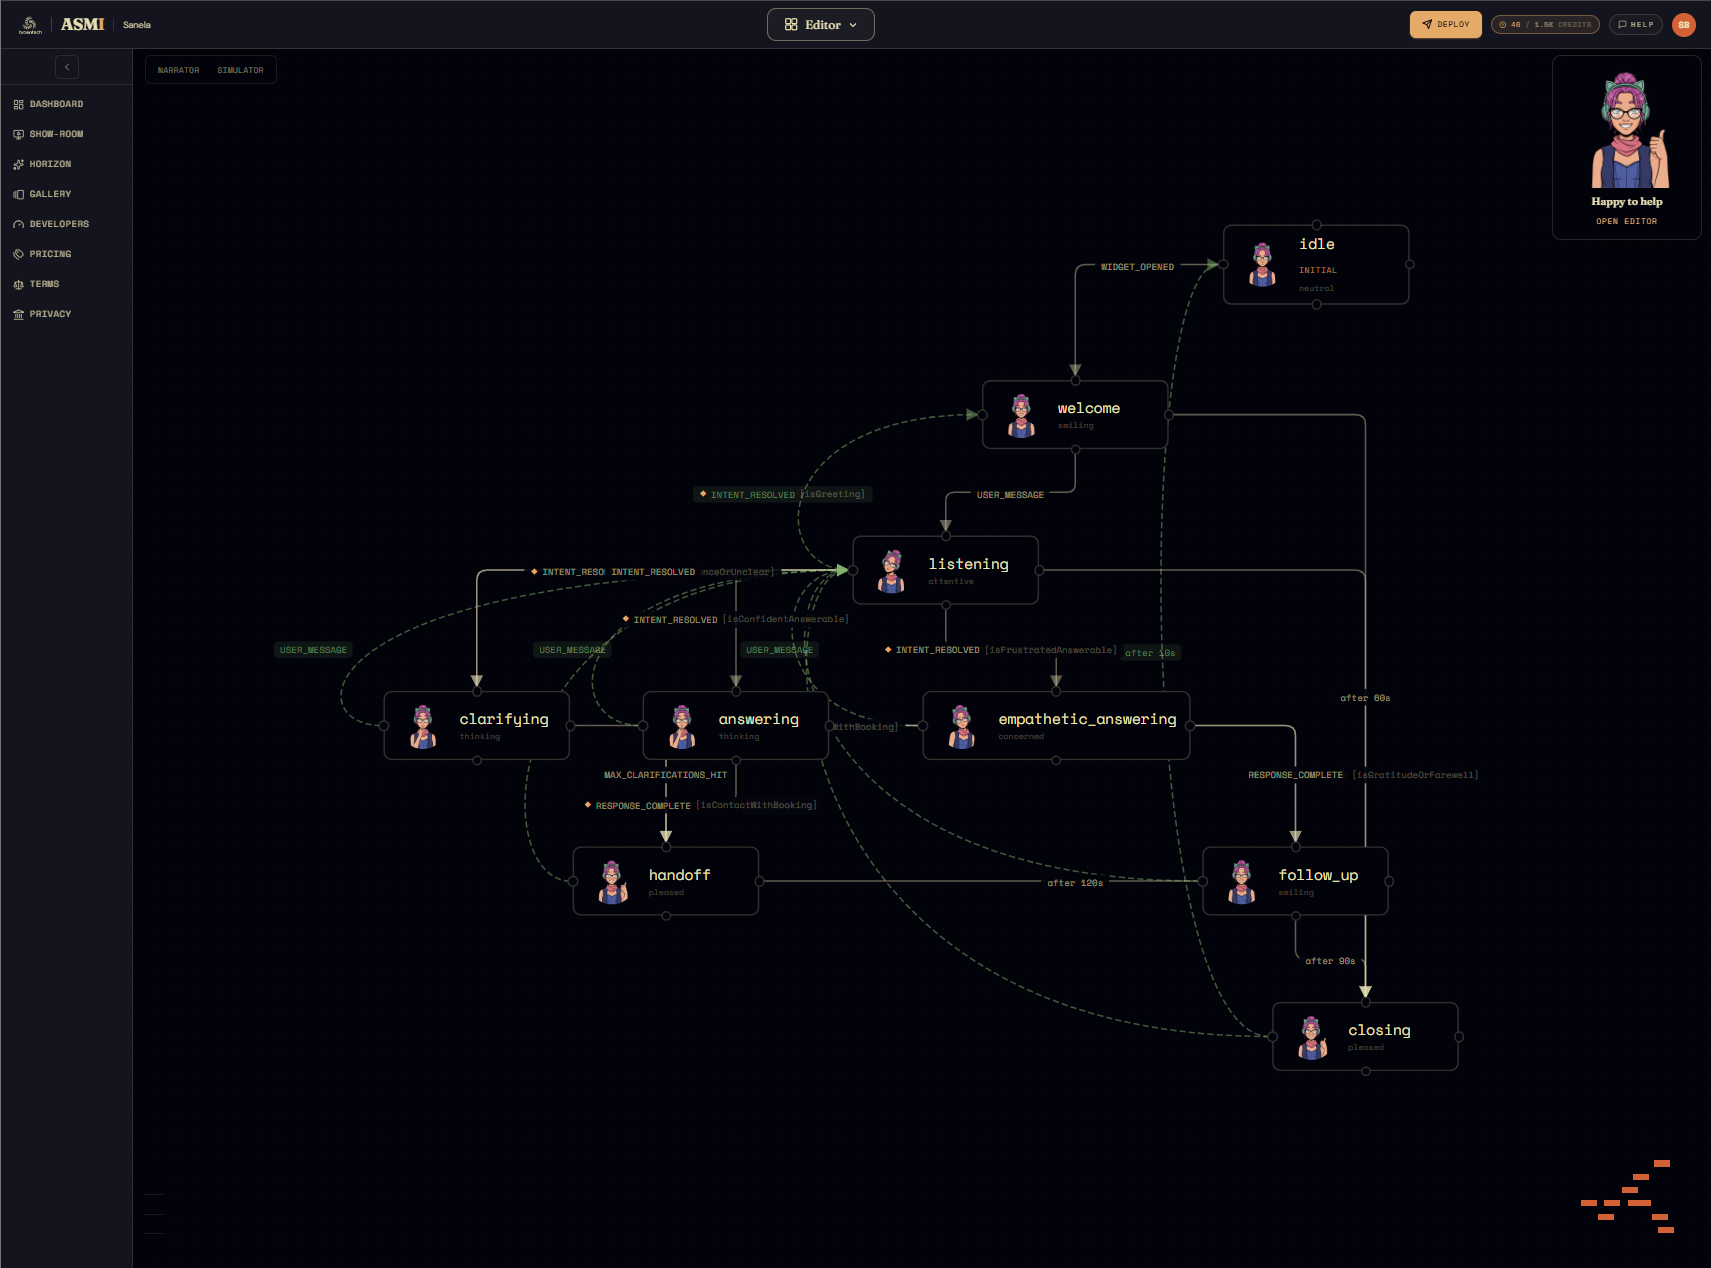
One precondition: the avatar needs a completed Happy Path run from the Narrative Player. That recording is the golden baseline verify_deployment holds your coding agent's integration to, so an avatar can't ship without one — if it's missing, clicking Deploy opens the Narrative Player with the Happy Path armed; press Play, let it finish, and Deploy again.
Click it. The button flips to a green Deployment state and a confirmation drops down: your avatar is now listed in your ASMI MCP server, ready for a coding AI to discover and implement.
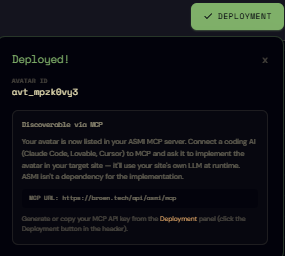
Deploying doesn't push code anywhere. It makes the avatar discoverable: a coding agent connected to the MCP server can now fetch its definition, expression assets, and embedding guide, and build the integration in your target site using your site's own LLM at runtime. ASMI is not a runtime dependency for a deployed avatar — and un-deploying later won't break a site that's already live (those run on the host, not on me).
Step 2 — Grab the two things you need
Re-open the dialog any time with the green Deployment button. It carries usage stats, a per-pipeline cost breakdown, and the full deployment toolkit — but to get going you need exactly two values from it:
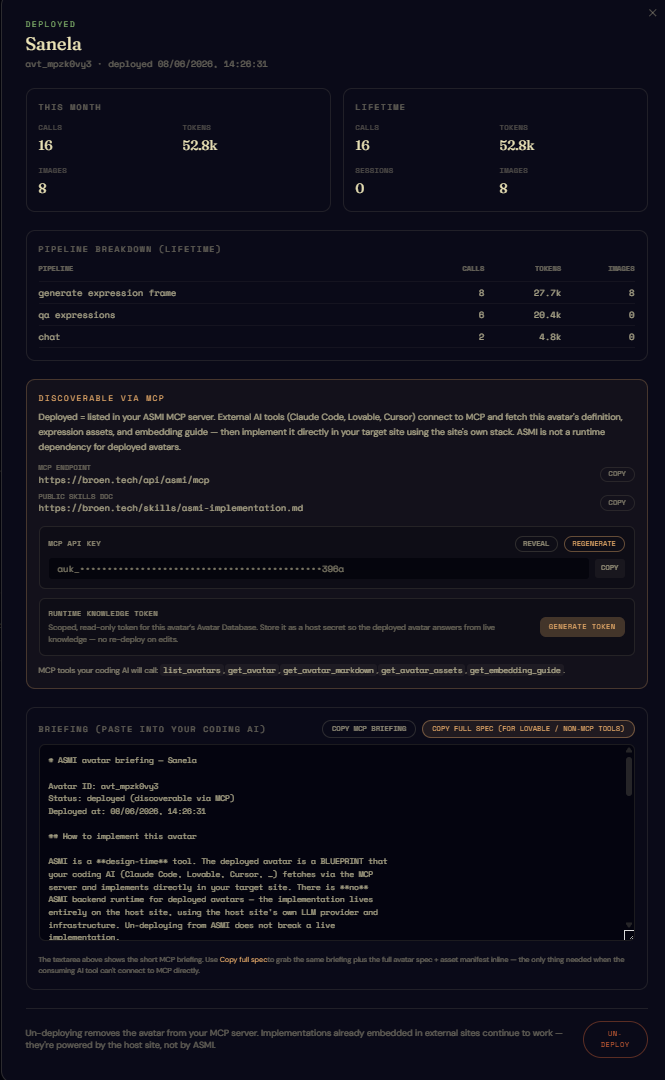
- The MCP endpoint — always
https://broen.tech/api/asmi/mcp. - The MCP API key (
auk_…) — click Reveal, then Copy. Treat it like a password: don't paste it anywhere public, and Regenerate it if it ever leaks.
Two other things in this dialog are worth knowing about now and reaching for later:
- A runtime knowledge token — generate it and have your implementation store it as a host secret, and the deployed avatar will answer from live published knowledge, so Database edits (chapter 6) reach the site without a re-deploy.
- A Copy full spec button — the escape hatch for when MCP truncates. See the last section.
Step 3 — Connect Lovable to the MCP server
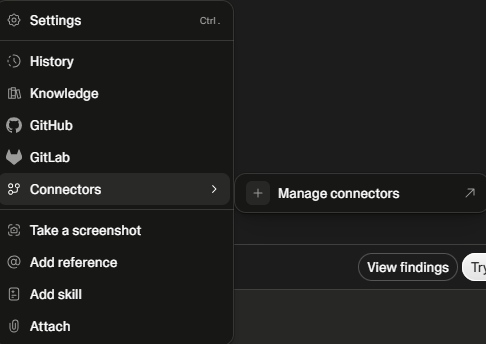
Open an existing Lovable project or create one. In the prompt box at the bottom-left, click the + button.
In the menu, hover Connectors, then click Manage connectors.
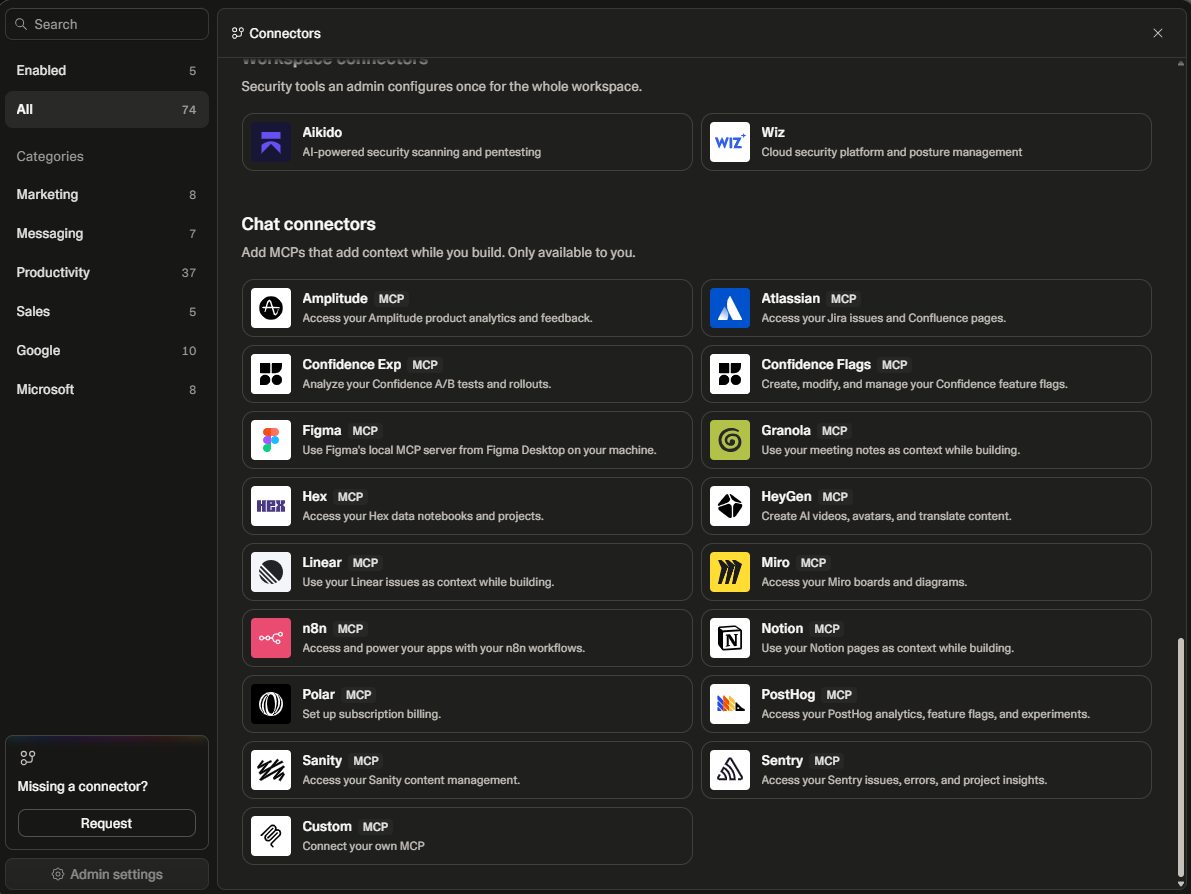
That opens Lovable's connector marketplace. ASMI isn't an official Lovable connector yet (the request is in), so scroll to the very bottom and click Custom MCP.
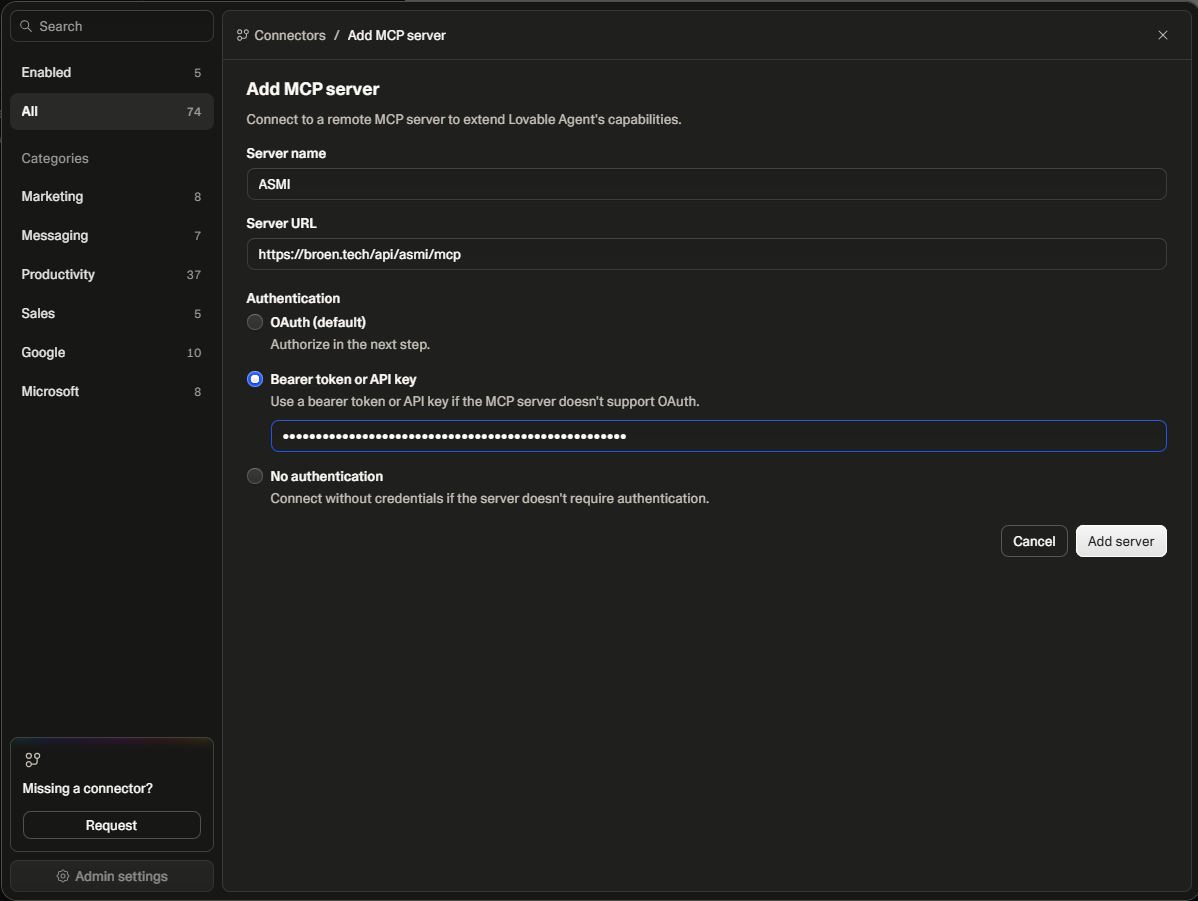
Fill in the Add MCP server dialog: a Server name (e.g. ASMI), the Server URL (the MCP endpoint above), and for Authentication choose Bearer token or API key and paste your auk_ key into the field. Click Add server.
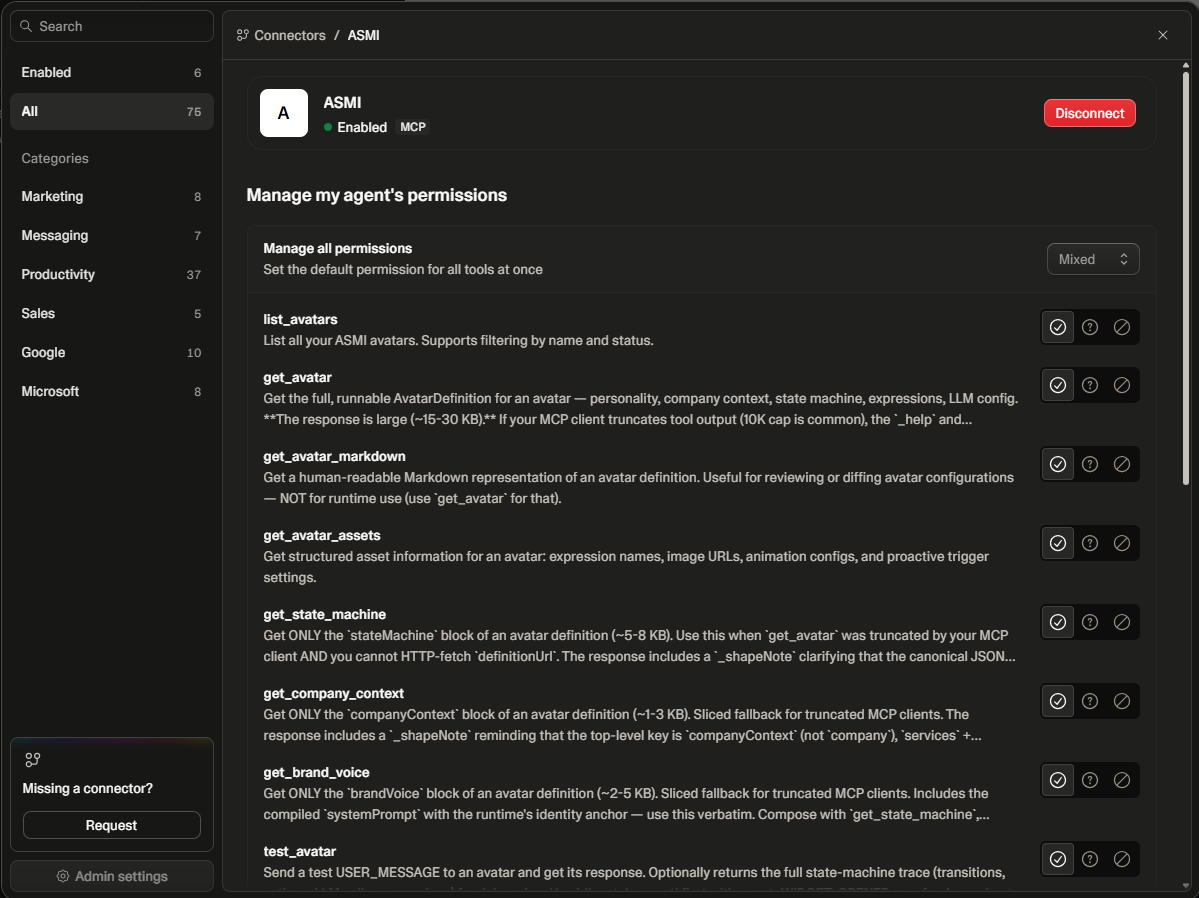
Once Lovable connects, it lists every tool the MCP server exposes. Pre-accept (always allow) all of them. Otherwise the agent stops to ask permission before every single tool call while it's building — which turns one prompt into dozens of clicks.
Step 4 — Tell it to build
Close the connectors UI and go back to the prompt. Then just ask:
Implement Sanela from ASMI
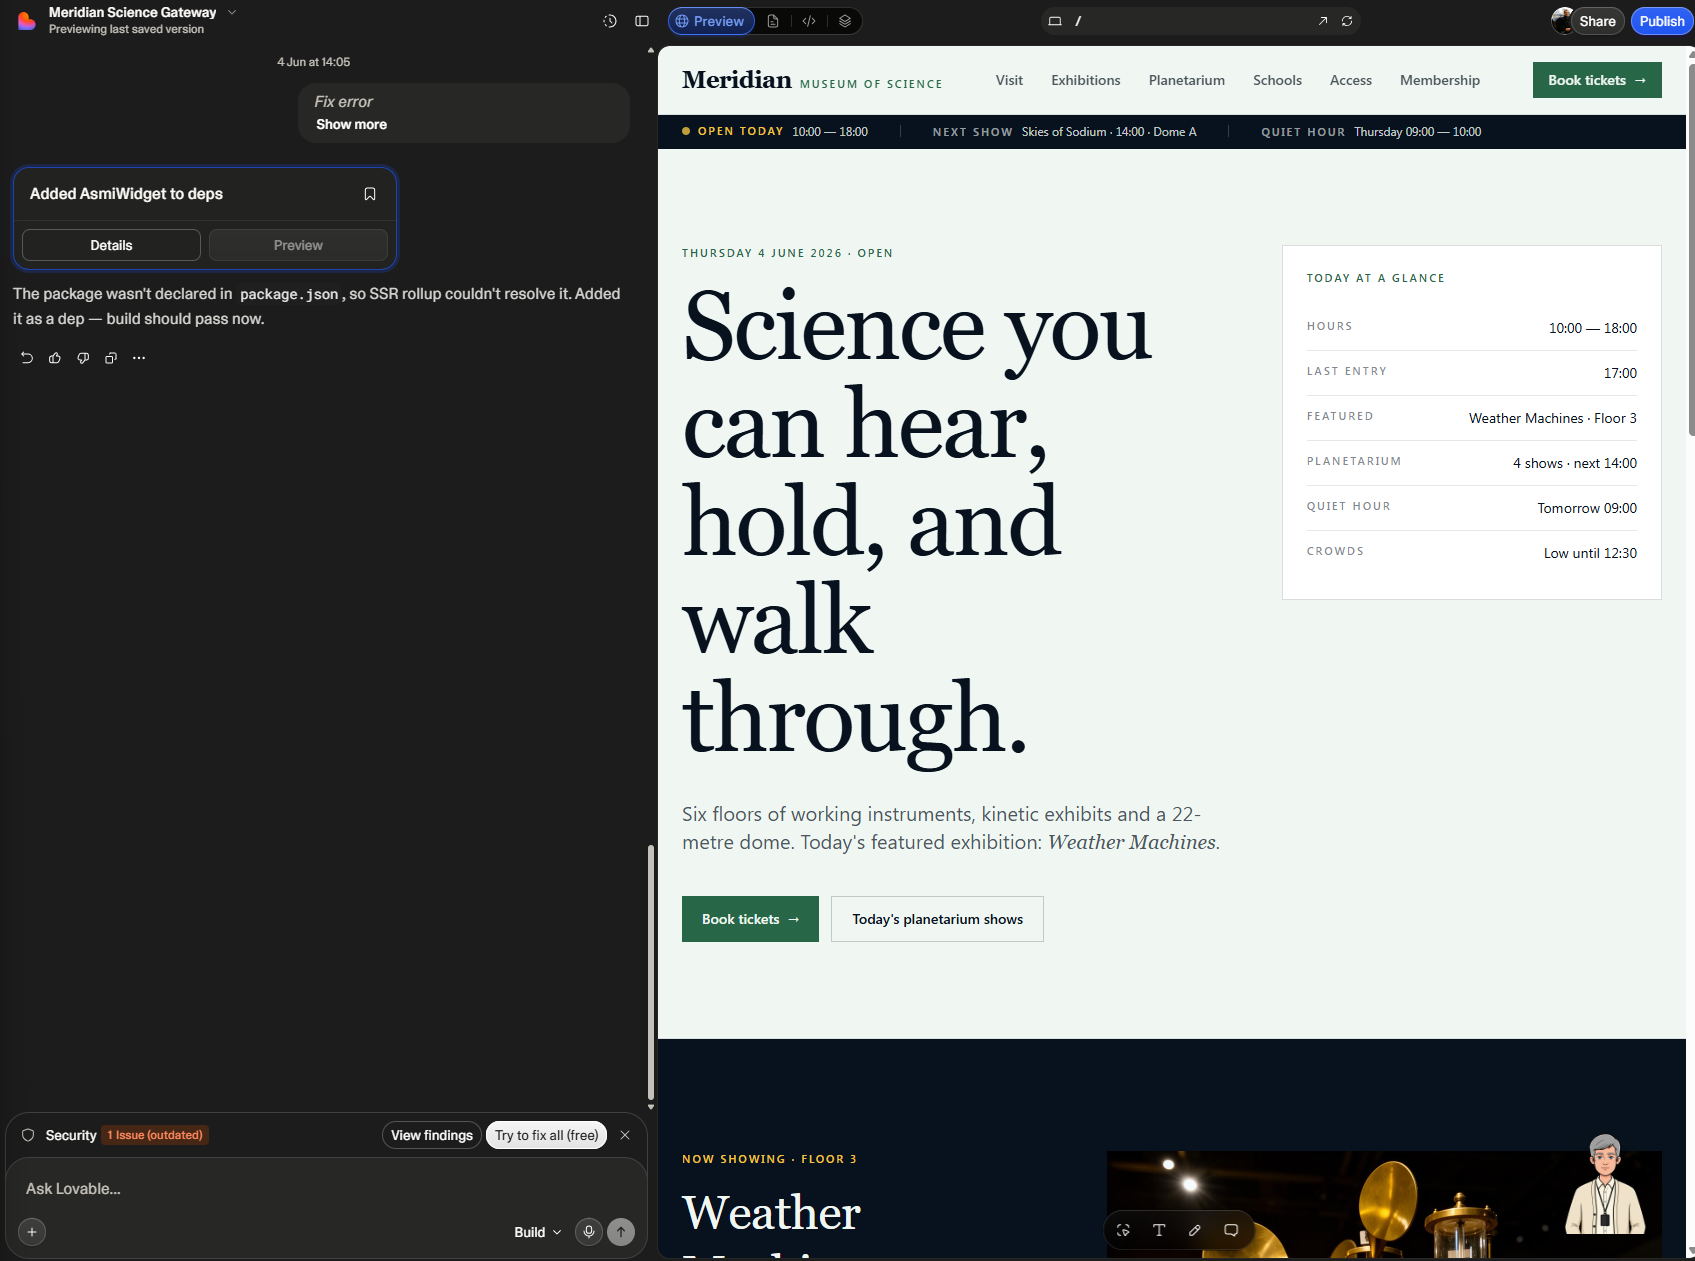
That really is enough. The MCP server hands the agent the avatar definition, the asset manifest, and a step-by-step embedding guide; the guide tells it to install the two open npm packages, write a backend chat route, and mount the avatar widget — all directly in your project. From there you lean on the agent and review what it produces.
When it's done, run a security pass before you publish: Lovable's Review security button on the publish page, then Try to fix all if it surfaces anything. Cheap insurance on agent-generated code.
The one Lovable wrinkle — response truncation
Worth knowing, because it's the failure mode you might actually hit. Lovable's custom-MCP connector caps tool responses at roughly 10 KB, and a real avatar definition is 15–30 KB — so a plain get_avatar can arrive with its tail lopped off, including the entire state-machine block. The embedding guide expects this and tells the agent how to recover on its own: re-fetch the canonical definition over HTTP from the public definitionUrl (which survives even brutal truncation), or fall back to the sliced get_state_machine / get_company_context / get_brand_voice tools, each small enough to clear the cap. So on the connector path, recovery is usually automatic — you don't do anything.
If it still struggles, skip MCP entirely: in the Deployment dialog, click Copy full spec (for Lovable / non-MCP tools) and paste that single block into Lovable's prompt. It carries the whole briefing plus the full avatar spec and asset manifest inline — everything the agent needs, with no MCP round-trip to truncate.
What comes next
The deploy half of this chapter is the same everywhere; only the connector setup and its quirks change per tool. The next two chapters cover base44 — which runs chat through its own InvokeLLM shim rather than a user-supplied key — and v0, whose custom-MCP connector supports custom headers. Same blueprint, each with the wrinkle that matters for that platform.